
Yara Shahidi is an icon for young females with natural hair! This is my official “go to” list for cute natural hairstyles.
Seriously, her hair game is on fleek. From sleek ponytails, slayed edges, precised parts, perfect — and I mean a perfect wash-and-go, every time I see Yara, she is always rocking a new, impressive style. She is literally the Queen of Natural Hair.
These are my TOP 10 favorites. Which ones are yours?
Let us slide into your dms 🥰
Get notified of top trending articles like this one every week! (we won't spam you)1. Sleek Ponytail
How to create a sleek ponytail:
Step 1: Prep hair with product.
Step 2: Create a side part.
Step 3: Blow-dry hair to make it smooth.
Step 4: Section the bottom of the hair.
Step 5: Spray product on to brush.
Step 6: Smooth hair into two low ponytails and secure with an elastic band.
Step 7: Apply edge control.

Take the Quiz: Which KPop Demon Hunters' Huntrix Member Are You?
Are you the chaos on stage or the calm in the storm? Let’s find your Huntrix twin.
2. Slick back
How to Create a Slick Back:
Step 1: Create a sharp part, then spritz your brush with a holding spray.
Step 2: Use your brush to slick your hair into a ponytail and secure with an elastic.
Step 3: Twist the hair from your pony and wrap it around the base to form a doughnut.
Step 4: Leaving the tail ends out (optional), use bobby pins to secure your bun in place.
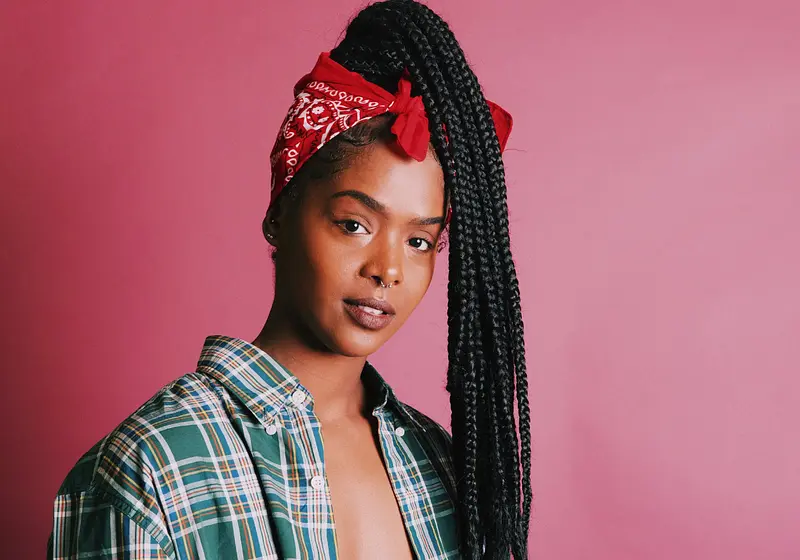
3. Scalp Braids
How to Create Scalp Braids:
Step 1: Section off the part of hair you want to braid. The smaller the section is, the smaller the braid your braid will be. Then tie the rest of the hair away with either a clip or hair tie, so you don't accidentally grab that hair and braid it in.
Step 2: Take the section of hair you just parted off and at the hairline place some edge control on it and section off a small section going horizontally.
Step 3: Take the small horizontal section and divide it into three strands of hair. Each part serves as a leg of your braid
Step 4: With your right hand, you should have your index finger, middle finger, and thumb on one strand and the other two strands of hair will be in your left hand.
Step 5. The outer strand will be held by the middle finger and the thumb.
Step 6: The middle strand will be held by the index finger and thumb.
Step 7 Take the index of the right hand, put it behind the middle strand of hair and over the outer left strand of hair.
Step 8: With your right index finger over the outer left strand of hair, grab that strand and use your thumb to pick also up some hair from behind.
Step 9: Holding the outer left strand between your right index finger and thumb, pull it under the middle strand.
Step 10: What was previously the middle strand should now be on the outer left and what was the outer left should now be in the middle.
Step 11: You should be holding two strands of hair in your right hand and 1 in your left.
Step 12: Now, take the index finger of the left hand and put it under the middle and over the outer right strand.
Step 13: With your left index finger over the outer right strand of hair grab it and use your thumb to pick up hair.
Step 14: Now pull the outer right strand of hair under the middle.
4. The Perfect Wash and Go
How to Create a Perfect Wash and Go:
Step 1: Cleanse your hair with sulfate free shampoo.
Step 2: Condition your hair.
Step 3: Section your hair and detangle using a paddle brush.
Step 4: Apply leave in conditioner and curling custard of your choice.
Step 5: (optional) Use a diffuser to prevent shrinkage.
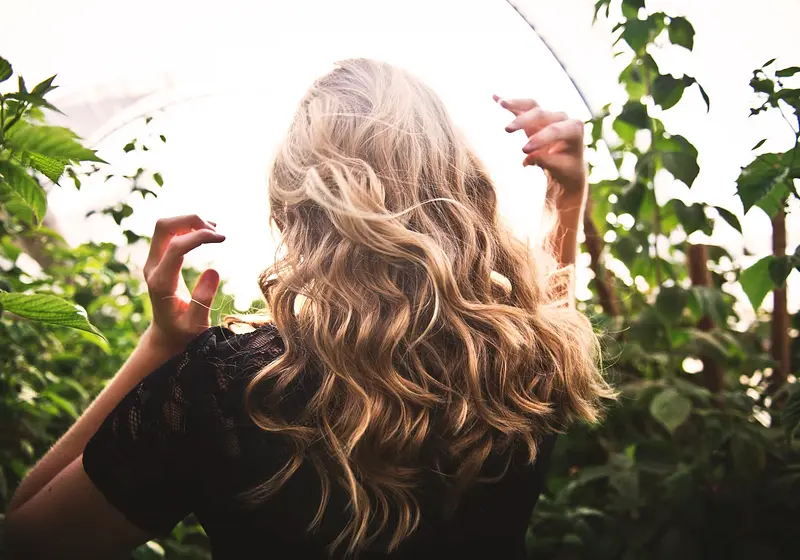
5. Blowout
🚨 We (My hair and I) are taking up more space as we enter 2020🚨 📸 @maasaipg
How to Create a Blowout:
Step 1: Towel dry wet hair.
Step 2: Apply heat protectant or serum.
Step 2: Begin blow-drying hair while brushing hair from root to end.
Step 3: Cold blast hair to lock in shine.
6. Curly Pineapple
How to Create a Curly Pineapple:
Step 1: Make Sure your curls are dry.
Step 2: Apply hair moisturizer and hair oil.
Step 3: Gather hair into a high ponytail with an elastic band.
Step 4: Fluff out hair and apply edge control.
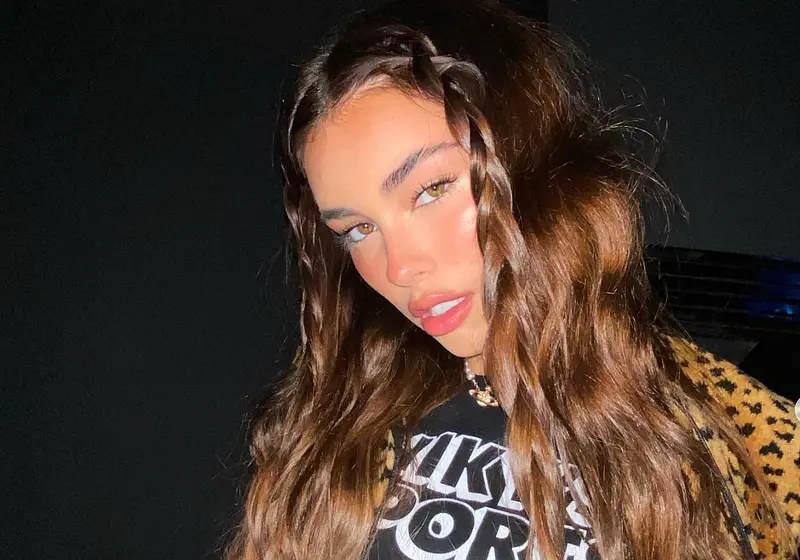
7. Curly Pineapple With Braided Bangs
How to Create Curly Pineapple With Braided Bangs:
Step 1: Make Sure your curls are dry.
Step 2: Apply hair moisturizer and hair oil.
Step 3: Part section at the top of your hair for your bangs.
Step 4: Braid bangs in the direction you want them to flow.
Step 5: Gather hair into a high ponytail with an elastic band.
Step 6: Fluff out hair and apply edge control.
8. Knotted Bun
How to Create a Knotted Bun:
Step 1: Pull your hair into a high ponytail.
Step 2: Divide your ponytail into two sections.
Step 3: Wrap each section around each other.
Step 4: Wrap your hair around the elastic band
Step 5: Bobby pin the top knot into place.
9. Space Buns
How to Create Space Buns:
Step 1: Brush your hair and part it down the middle to create two ponytails.
Step 2: Twist your first ponytail into a rope.
Step 3: Coil the rope into a bun, then secure it with an elastic band,
Step 4: Repeat the process for the second bun.
Step 5: (optional) Mist the buns with hairspray.
10. Goddess Braids
How to Create Goddess Braids:
Step 1: Create a middle part or side part.
Step 2: Divide one side of your hair into 3 sections and begin braiding.
Step 3. Finish your braid to the end.
Step 4: Repeat the process to the other side of your hair.
To check out more exciting hairstyles and glamorous outfits follow Yara Shahidi on instagram @yarashahidi. If you try any of these hairstyles, please use the hashtag #TheTeenMagazine and #YaraShahidi on instagram.