


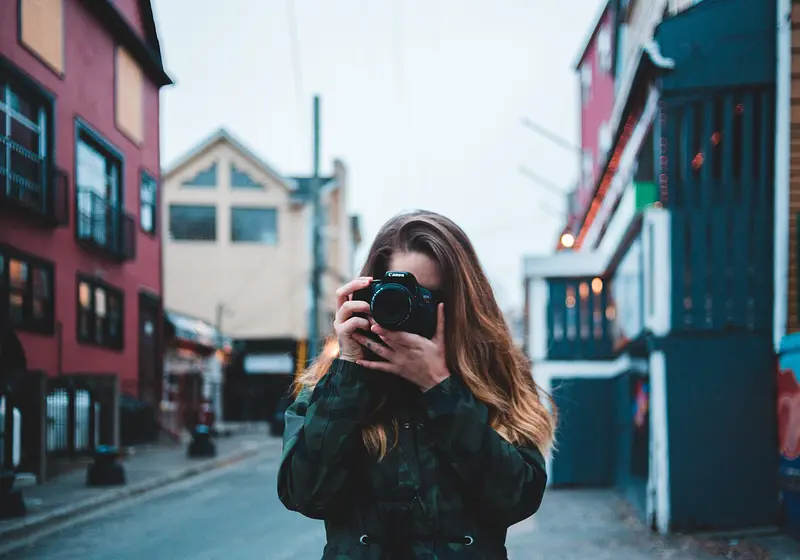
Photography is a great way to capture the world and a great hobby for anyone to enjoy. If you're interested in photography, I highly recommend giving it a try. From portraits to landscapes, food, and fashion, there are many types of photography to choose from! Regardless of what kinds of photos you want to take, there are several main concepts that are essential to know.
Let us slide into your dms 🥰
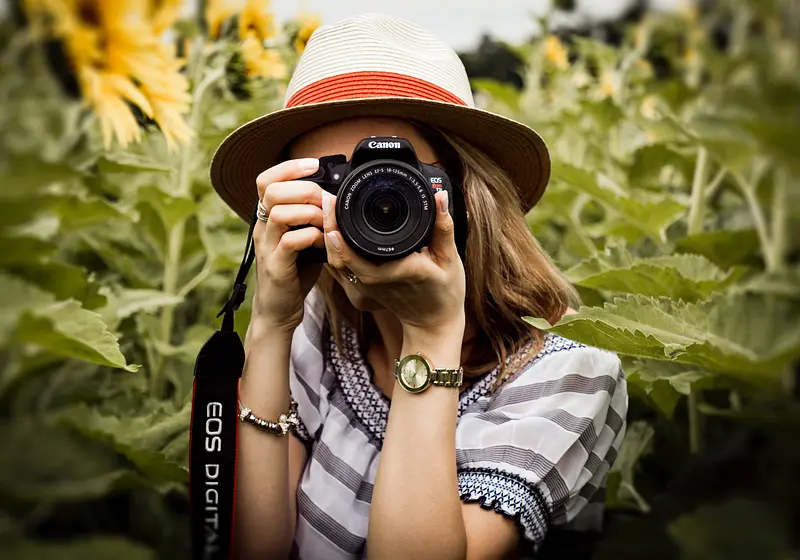
Get notified of top trending articles like this one every week! (we won't spam you)Photography Basics
When you first look at a DSLR camera, all of the buttons may seem a little intimidating. However, there are a few basic settings (and one term) that are necessary to know! Many cameras have different ways of adjusting these settings, so it is important to check your camera's manual.
Exposure refers to how much light reaches your camera sensor, or more simply, how bright or dark your pictures look. In order to have a properly exposed image, there are three settings you must know how to utilize.
1. Aperture
If a camera is an eye, then the Aperture is its pupil! Similarly to how your pupils dilate in the dark and shrink in the light, the size of your camera's aperture can be adjusted to let more or less light into the sensor. Aperture is measured in f/stop and can often range from f/1.4 to f/32. A smaller aperture lets in the most amount of light, while a wider aperture lets in the least.
Aperture also controls the depth of field of an image. A smaller aperture leads to images with a blurry background, which is often used in portrait photography. A larger aperture allows for a wider and sharper range, which is often used for landscape photography.
2. Shutter Speed
When you take a picture, your camera's shutter opens to let light into its sensor, then quickly closes. Shutter speed is the amount of time the shutter stays open. A slower shutter speed not only increases the amount of light in your image but also creates motion blur.
With a slow shutter speed, subjects that are moving in your pictures will appear blurred. People use a slow shutter speed when taking pictures of dim objects like stars that require the camera to capture a lot of light in order to be visible. A faster shutter speed can freeze motion, allowing moving objects to be captured with great detail. However, this can make images appear darker as less light is let into the camera.
3. ISO
ISO controls the amount of light let into your image sensor. A low ISO is great for sunny days when lighting is bright, while a higher ISO is good for taking pictures in darker environments. While high ISO values increase a camera's sensitivity to light and make your image brighter, they also cause grain to appear in images. It's generally recommended that photographers avoid using a high ISO unless necessary.
All three settings influence your exposure, so it is important to use all three in harmony in order to take properly exposed images! For example, if you are taking pictures at a sports game at night, you'll want a high shutter speed. However, in low-light conditions, you'll have to use a higher ISO value and/or a lower aperture. The exposure triangle is a great visual that shows how each setting affects the brightness of an image!

Take the Quiz: What Event Night Should You Plan With Your Friends?
Based on your group vibe, discover what you should try with your friends the next time you hangout!
Metering
You may be wondering how exactly you can tell if your image is over or under-exposed. While you can generally tell by looking at your images, you can also use your camera's light meter. If you look in the viewfinder of your camera, you can see a meter with bars going left to right with a zero in between.
If your camera is pointed toward a bright area, the bars will go to the "+", showing that there is too much light with your current settings. If your camera is pointed toward a dark area, the bars will go to the "-", showing that there is not enough light. The optimal exposure is at "0".
It's important to adjust your settings to reach zero if you want a properly exposed image. If there are different objects with different levels of lighting, you can use different metering modes to evenly expose different things. For example, if you have a main subject that you want to be properly exposed, you can use spot metering!
White Balance
White balance is used to accurately capture the colors in your image. The color temperature is measured in "K", also known as Kelvins. A lower K value gives a warmer image, and a higher K value creates a cooler image.
A camera can either use automatic white balance, presets, or custom input. I recommend using presets, as they give options for a variety of environments!
Camera Modes
On the top of a DSLR camera, there is a dial where you can select which mode you want to shoot in.
Manual Mode
In manual mode, you have full control over your camera settings. In this mode, you can make your photos appear as light or dark as you want. Having full creative control allows you to take any kinds of photos you want-- silhouettes, bokeh backgrounds, low-light images, you name it! While you don't need to shoot in manual mode all of the time, I recommend that everyone learns how to use it.
Program Mode
Program mode only allows you to adjust your ISO while the camera automatically adjusts your shutter speed and aperture. Program mode is good for those who are unfamiliar with those settings and is super beginner-friendly. When ISO is the only setting that matters at the moment, this mode is great to use!
Shutter Priority (Tv)
In shutter priority mode, you choose the shutter speed and ISO while your camera automatically adjusts your aperture. I recommend you use this mode when shutter speed is the most important factor. I personally use this mode when I take pictures at sporting events! In fast-paced situations where you want to capture a clear image and not worry about lighting, shutter priority is a great mode to use.
Aperture Priority (Av)
In aperture priority mode, you choose your aperture and ISO while your camera automatically adjusts your shutter speed. Setting a fixed aperture in this mode means that you will have a fixed depth of field. For example, if you're taking a photo shoot and you want consistent lighting and level of sharpness/blur, aperture priority will help you to accomplish that. When your main priority is having a blurry or sharp background, I recommend trying this mode!
Mobile Phone Photography
No camera? No problem!
A DSLR camera is not necessary to take great photos! You can still follow many of the fundamentals of photography to capture awesome pictures! In your phone camera settings, for example, there should be an option to turn on gridlines.
This allows you to utilize the rule of thirds, a guideline that breaks your image into thirds. This allows you to place your subject on a third, leaving you with a compelling shot.
There are also plenty of mobile apps, such as Lightroom, which you can use to edit your photos. Editing apps offer tons of features and filters that can make your photos pop!
Basic equipment
If you're interested in purchasing a camera, I highly recommend getting a DSLR. This type of camera has a ton of versatility and is great for beginners. Several brands such as Canon and Nikon have plenty of options. My first camera was a Canon EOS T3, and I loved using it! While it is a somewhat older model, it worked great for the photos I took and was user-friendly.
One of the most important things you'll need if you're shooting with a DSLR is a memory card. I recommend you purchase a memory card that has at least 16GB of storage. This allows you to store plenty of photos in your camera, which you can later transfer to a computer or your phone. I personally use a 64GB memory card, which has given me plenty of space to take photos at events!
A tripod is also extremely helpful depending on what you plan on photographing. Tripods are great for landscape or low-light photography as they allow you to use a lower shutter speed without creating motion blur from holding the camera. There are tripods for all kinds of cameras, including your mobile phone!
A few other things I recommend are a camera bag, different lenses, and extra batteries!
Editing
After you take pictures, the next step is to edit them! Editing is important to balance exposure, correct color, sharpen images, and any extra details! I recommend using software such as Adobe Lightroom.
I think that the best way to learn about editing is to utilize the tutorials built into programs and watch videos from other photographers! Social media is a great way to learn photography techniques! You can also see how many photographers have their own unique styles!
Practice Makes Perfect
The best way to learn about photography is to practice! Go out and take pictures of various different things to see what you enjoy most-- never be afraid to experiment! Soon the fundamentals of photography will seem almost second nature.
Taking photos allows you to see the beauty in the world and capture countless special moments. Photography is an amazing hobby that anyone can learn to do, and even if you're doubtful, I highly recommend giving it a try!


.jpg)